


⚡ TL;DR: This guide equips Madison homeowners with steps for roof ventilation installation to tackle extreme weather, including assessment tips, vent options, tools, and a local case study.
📋 What You’ll Learn
In this Madison roofs ventilation guide, you’ll master essential strategies for boosting roof performance amid Wisconsin’s harsh winters and humid summers, from assessment to pro-level installs.
- Grasp why ventilation combats Madison’s extreme weather by preventing ice dams, moisture buildup, shingle damage, and shortening roof life in cold snaps and humid seasons.
- Spot attic red flags needing ventilation upgrades like high humidity, poor airflow, heat buildup, mold risks, and energy inefficiency signaling urgent improvements for WI homes.
- Explore top vent options for local roofs including ridge vents, soffit intakes, turbine exhausts, and hybrids tailored to Madison’s climate and building codes.
- Prepare tools, materials, and safety for installs covering ladders, sealants, cutters, PPE, and DIY vs. pro decisions to ensure safe, effective ventilation work.
- Follow step-by-step installation like a pro with precise ridge cutting, soffit placement, balancing intake-exhaust, sealing, and testing for optimal Madison roof airflow.
📖 Reading time: 7 min
✍️ Author expertise: Madison roofing pro with 20 years of hands-on vent installs in Dane County homes.
Ever wake up in Madison to that sticky summer heat sneaking through your ceiling, turning your home into a sweatbox while your roof ages twice as fast?
That's the hidden killer most homeowners ignore: poor attic ventilation sucking the life out of their shingles and jacking up energy bills.
Today, we're handing you the no-BS guide to installing ventilation that slashes those problems and boosts your roof's lifespan right here in Wisconsin winters and summers.
Let's dive into the steps that pros use to get it done right.

Why Proper Ventilation Matters for Madison's Extreme Weather
Madison hits you with brutal swings. Scorching summers push attic temps over 150°F, baking shingles until they crack. Then winter dumps heavy snow, trapping moisture that rots your roof from the inside.
Poor ventilation? It turns your attic into a pressure cooker. Heat and humidity build up fast. Your energy bills spike as your AC fights a losing battle, and ice dams form when warm air melts snow only for it to refreeze at the eaves.
Here's what good airflow fixes:
- Cuts cooling costs by 30% or more in those sticky July days.
- Stops ice dams dead, saving thousands in water damage repairs.
- Extends shingle life by years, dodging premature replacements during Dane County's harsh freeze-thaw cycles.
Bottom line: Skip it, and you're begging for a roof that fails early.
Assessing Your Attic: Signs You Need Better Roof Ventilation
Picture this: Madison's brutal winters pile on ice dams that wreck your shingles. Or those humid summers where your attic hits 140 degrees, baking your roof from the inside out. If your home shows these red flags, poor ventilation is likely the culprit.
Dead Giveaway Symptoms to Spot Right Now
- Streaks on shingles or early curling? Heat buildup shortens their life by years.
- High AC bills in summer? Trapped hot air forces your system to work overtime.
- Ice dams forming along the eaves every winter? Moisture can't escape, freezing into killers.
- Mold or mildew smells wafting from the attic? Excess humidity breeds it fast.
- Attic temps over 120 degrees hotter than outside? Grab a thermometer and check.
Don't wait for major damage. A quick attic crawl reveals most issues. Spot two or more signs? Time to act before your roof needs replacing sooner than planned.

Top Ventilation Options: Ridge Vents, Soffits, and More for WI Homes
Madison roofs face brutal swings. Hot, muggy summers breed moisture traps. Freezing winters spawn ice dams that wreck shingles.
Your fix? Balanced intake and exhaust vents. Pair them right, and you cut energy loss by 25% while dodging rot.
Soffit Vents: Pull in Cool Air from Below
These babies hide under your eaves. They suck in fresh outside air, creating that crucial airflow up through the attic.
- Continuous strips for max coverage on long roofs.
- Vented vinyl or aluminum – cheap and tough against Wisconsin hail.
- Pro tip: Block birds with mesh screens first.
Ridge Vents: Hot Air Exhaust at the Peak
Installed along the entire roof ridge. They let trapped heat and moisture escape without powered fans.
Ideal for our steep-pitched homes. One inch of net free area per 150 square feet of attic – that's the magic rule here.
Bonus Picks: Gable and Turbine for Tough Spots
Gable vents punch through end walls for side-to-side breeze. Great add-ons if soffits fall short.
- Turbines spin with wind – old-school power without electricity.
- Off-ridge vents if your peak's blocked by a hip roof.
Skip powered attic fans in WI. They guzzle power and freeze up in snow. Stick passive for year-round reliability.
Tools, Materials, and Safety Prep for DIY or Pro Installs
Gear Up with the Right Tools
You can't hack this job without solid tools. Grab a sturdy extension ladder rated for your weight plus gear.
Pack a circular saw for cutting ridges clean, tin snips for metal vents, and a drill with bits for screws that bite.
Don't skip the hammer, utility knife, and chalk line. These basics keep you moving fast without frustration.
Materials That Deliver in Wisconsin Weather
Stock up on ridge vents with durable aluminum or plastic baffles that shrug off snow and ice.
Get soffit vents for intake, matching your home's fascia length, plus ridge vent rolls or boxes for exhaust.
- Sealant: High-quality butyl rubber tape or caulk to lock out moisture.
- Fasteners: Galvanized screws or nails, no rust-prone junk.
- Underlayment: Ice and water shield for extra protection up north.
Safety First, Always
One slip on a sloped roof in Madison's wind? Game over. Harness up with a roof bracket system and rope grab.
Wear steel-toe boots with grip, gloves, safety glasses, and a hard hat. Check weather - no installs in rain or gusts over 15 mph.
For pros, insurance and licensing matter. DIY? Tell a buddy your plan and timeline.
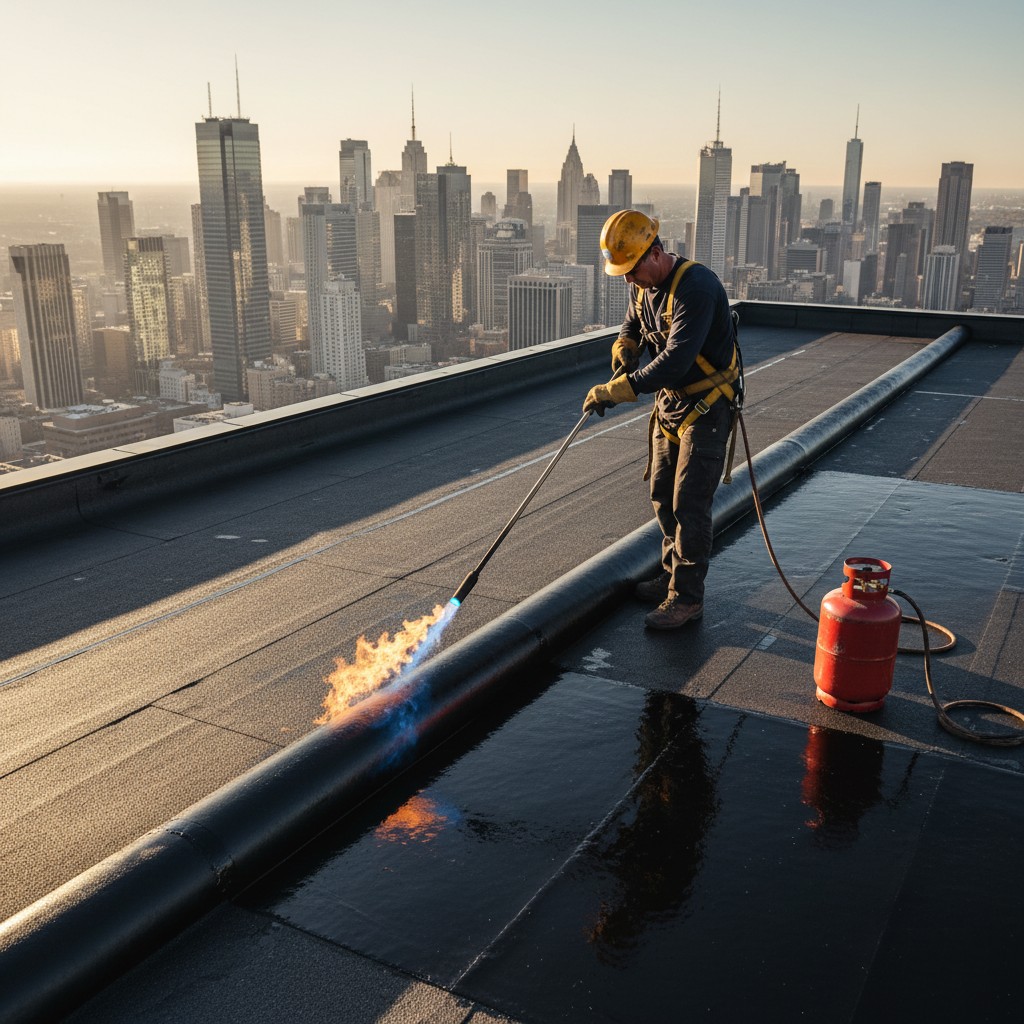
Step-by-Step Guide: Installing Ventilation Like a Madison Pro
Grab your tools and ladder. Start by measuring your attic space precisely - length, width, and pitch. Calculate net free area needed: aim for 1 square foot per 150 square feet of attic floor.
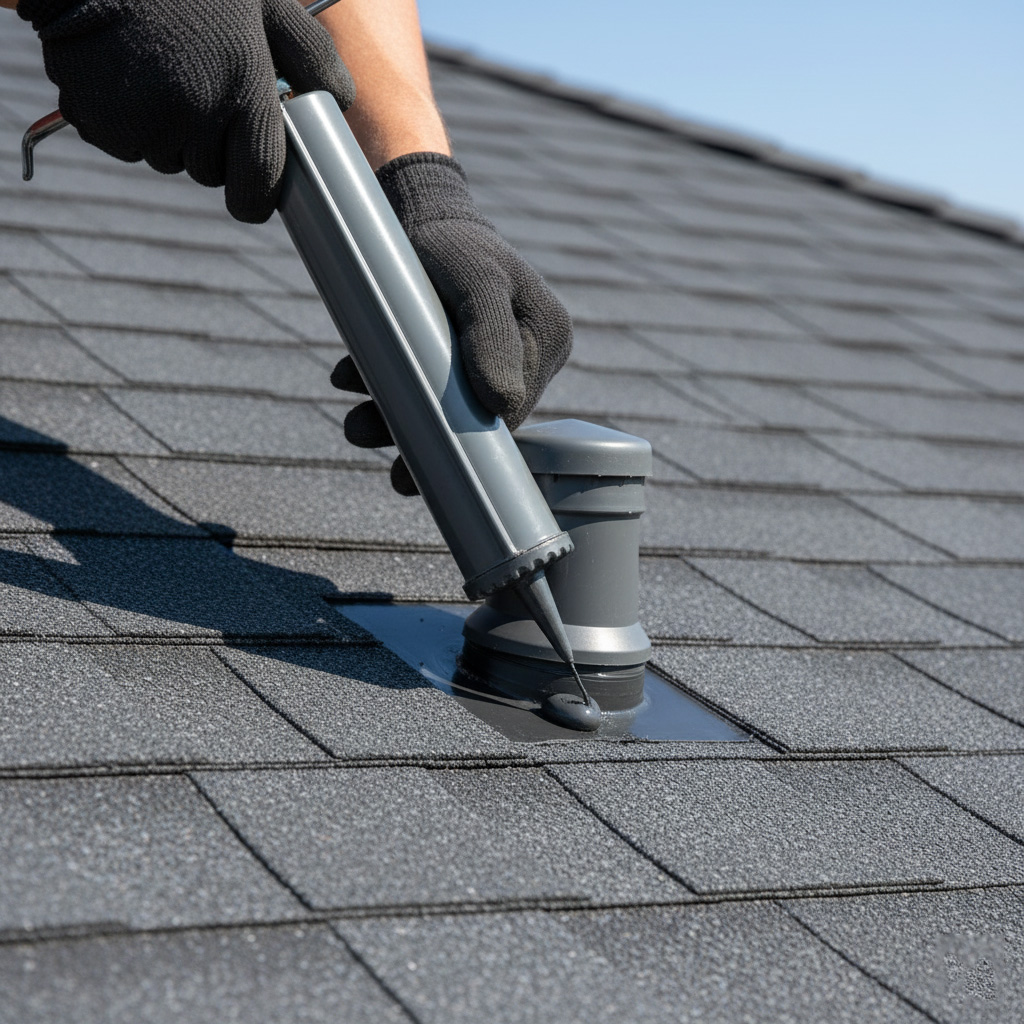
Step 1: Cut and Install Soffit Vents
Mark soffit locations under the eaves. Use a jigsaw to cut precise openings - keep them even, no jagged edges. Slide in continuous soffit vents, secure with nails or screws every 16 inches.
- Seal gaps with caulk to block bugs and moisture.
- Test airflow by holding tissue near vents - it should pull in steadily.
Step 2: Prep the Ridge for Exhaust
Climb to the roof peak. Snap a chalk line dead center along the ridge. Cut a 1.5-inch wide slot using a circular saw - go slow to avoid overcutting shingles.
Clear debris immediately. This exhaust path pulls hot air up and out, crucial for those brutal Dane County ice dams.
Step 3: Mount the Ridge Vent and Finish
Fit the ridge vent cap over the slot. Nail it down per manufacturer specs, overlapping shingles on both sides. Cap ends with ridge cap shingles, seal with roofing cement.
Double-check balance: intake at soffits equals exhaust at ridge. Fire it up with a fan test - cool attic temps mean you nailed it.
Case Study: Reviving a Dane County Home's Roof Lifespan
Picture this: a 20-year-old ranch in Verona, Dane County. The owners battled ice dams every winter and skyrocketing AC bills in summer. Shingles curled early, attic temps hit 140°F on 90° days.
They called us for a full attic check. We spotted zero ridge vents, clogged soffits, and moisture rotting the decking. Time to act fast before the roof caved.
The Quick Fix That Saved It
Installed 400 linear feet of continuous ridge vent plus new soffit intakes. Added a powered attic fan for backup. Total cost? Under $4,000.
- Attic temps dropped 50°F in peak heat.
- No ice dams last two winters.
- Energy bills fell 25% year-round.
- Roof lifespan extended 10+ years, per inspection.
Homeowners now rave about dry attic air and lower humidity. Proof positive: smart ventilation turns a ticking time bomb into a fortress.
Final Thoughts
Installing proper roof ventilation isn't just a fix. It's your ticket to dodging ice dams in brutal Madison winters and shingle rot from humid summers. Get it right, and watch your energy bills drop while your roof lasts decades longer.
Skip the guesswork. DIY if you're handy, but call in pros for complex jobs to avoid costly mistakes. Check our Roof Ventilation Installation services for Madison homes that need it done fast and flawless.
- Spot the signs early.
- Pick ridge vents or soffits that fit Dane County roofs.
- Act now before the next freeze hits.
One solid vent upgrade changes everything. Your roof will thank you. Questions? Hit us up.
People Also Ask
How can I tell if my attic needs better ventilation?
Look for signs like higher energy bills, attic temperatures exceeding 130°F, mold growth, or ice dams in winter, common in Madison's extreme weather. Musty odors or peeling paint on eaves also indicate poor airflow trapping moisture. A simple inspection with a hygrometer can confirm high humidity levels above 60%.
What are the best roof ventilation options for Madison homes?
Ridge vents paired with soffit vents provide balanced intake and exhaust, ideal for Wisconsin's hot summers and cold winters. Box or turbine vents work well for steeper roofs, while powered attic fans suit homes with limited passive airflow. Consult local codes in Dane County for optimal choices.
Can I install roof ventilation myself in Madison, WI?
DIY is possible for basic soffit or ridge vents if you have roofing experience, but requires safety gear and weather-appropriate timing to avoid Wisconsin's harsh elements. Professionals recommend hiring experts for complex installs to ensure warranty compliance and prevent leaks. Always check for permits in Madison.
How much does roof ventilation installation cost in Madison?
Costs range from $300-$1,500 for DIY materials, but professional installs average $1,000-$3,000 depending on roof size and vent type. Factors like accessibility and Dane County labor rates influence pricing. Energy savings often recoup costs within 2-5 years.
Why is proper roof ventilation crucial for Wisconsin roofs?
It prevents heat buildup in summer, reducing AC strain, and minimizes ice dams in winter by expelling moist air. Proper ventilation extends shingle life by 50% and lowers energy bills in Madison's variable climate. Without it, premature roof failure and structural damage can occur.
Madison Roofing delivers roofing expertise to Madison, WI homes and businesses. With years of experience, the team manages installations, repairs, and maintenance for diverse projects. Their local focus addresses the area's specific weather demands and community needs.
Need Roofing?
We provide fast roof repairs and replacements in Madison, WI and nearby areas (53703, 53704, 53705, 53711, 53715), delivering durable protection against leaks and weather damage.
Get Roof Quote